GNU/Linux distribution project

GNU/Linux distribution project

Authors: Martial Daumas
Date: 2003-12-08
Modif 2003-12-10
Translation: Martial Daumas
Easy installation guide

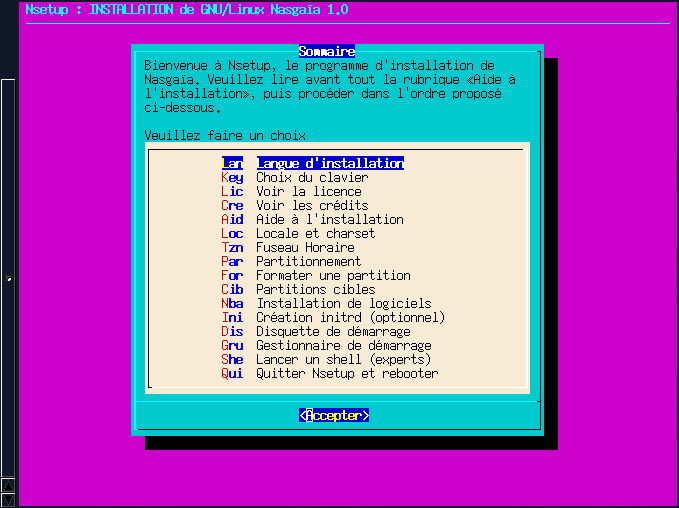
Fig. 1 |
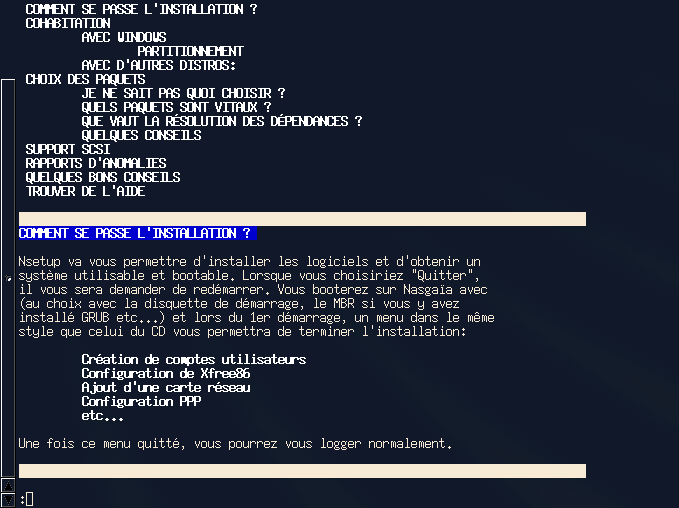
Fig. 2 |
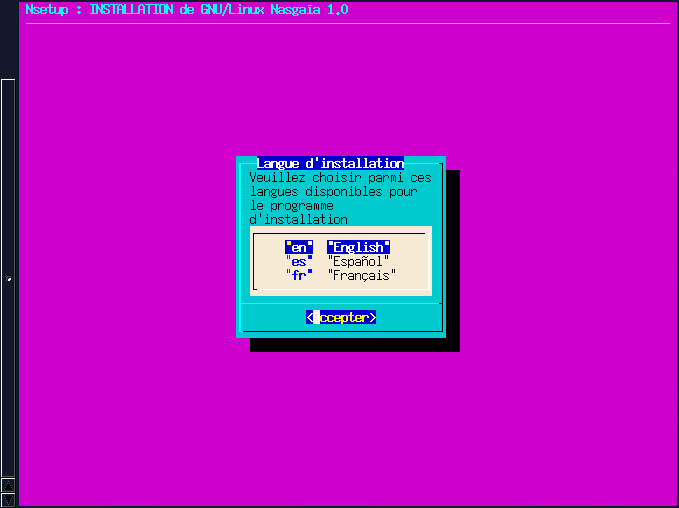
Installing nasgaia-1.0 is fairly simple, here we'll overview the main steps to follow. The on-line help (Fig2) is available at any time from the main menu (Fig1).
If you intend to install all the available softwares, you need at least 1.5GB of free disk space.
The order of menus on the main screen is natural, it's advised to follow it, simply skip steps that are not required according to your situation.
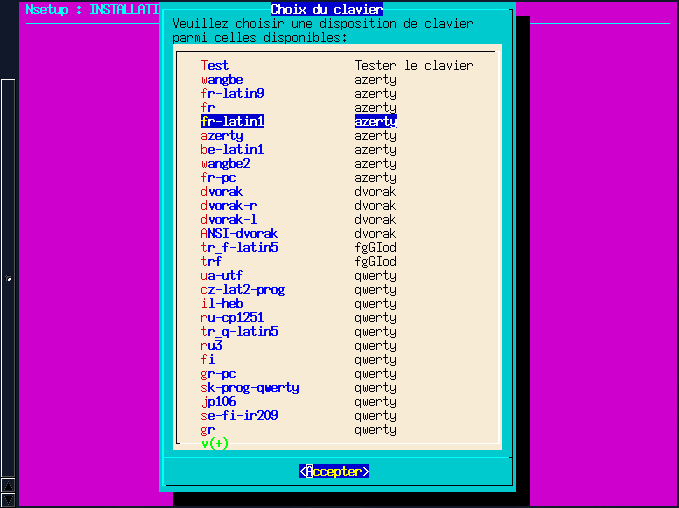
Fig. 4 |
Now choose your preferred keymap - you can test it immediately using the first entry, Test in a text input box.
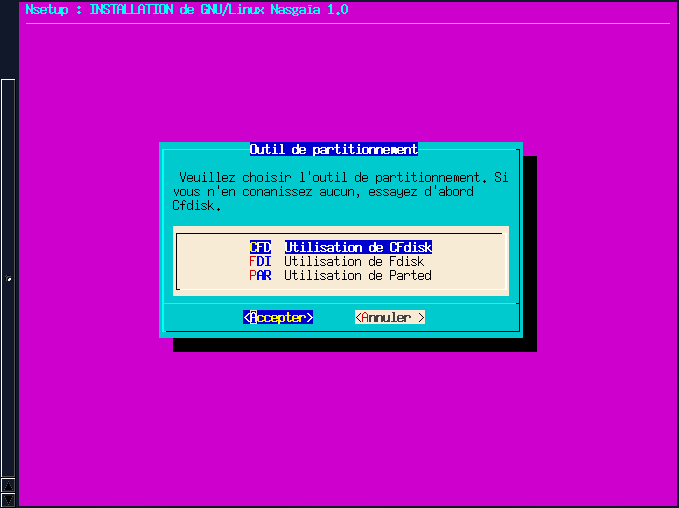
Fig. 7 |
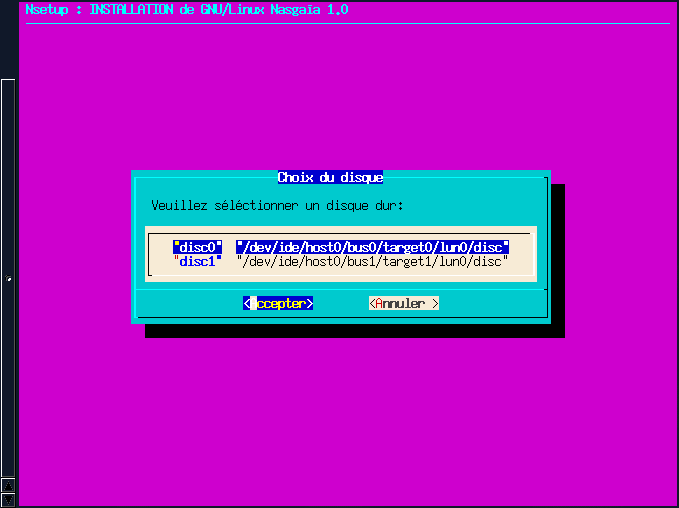
Fig. 8 |
Here you can use one the three proposed utilities (Fig7) to delete or create partition on the selected Hard Drive (Fig8), if you need to (you need at least one free partition to install Nasgaïa). cfdisk is often a good choice due to its simplicity and efficiency.
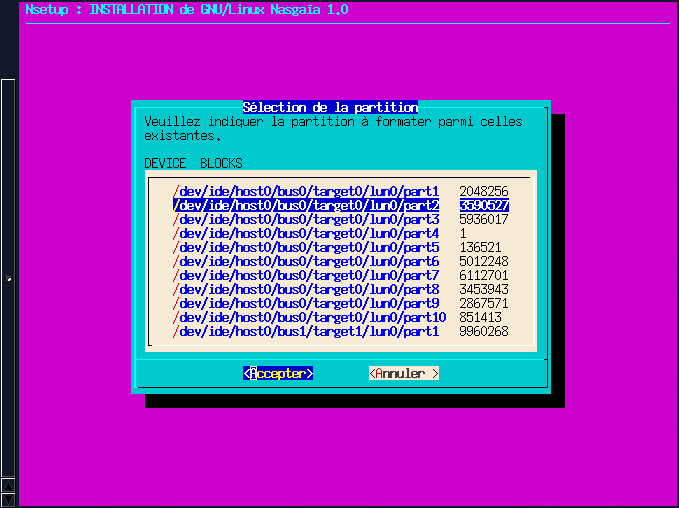
Fig. 9 |
Here you can format the chosen partitions (Fig9) with a file system: ext2, ext3, reiserfs. We highly recommend the use of ext3 for the root partition.
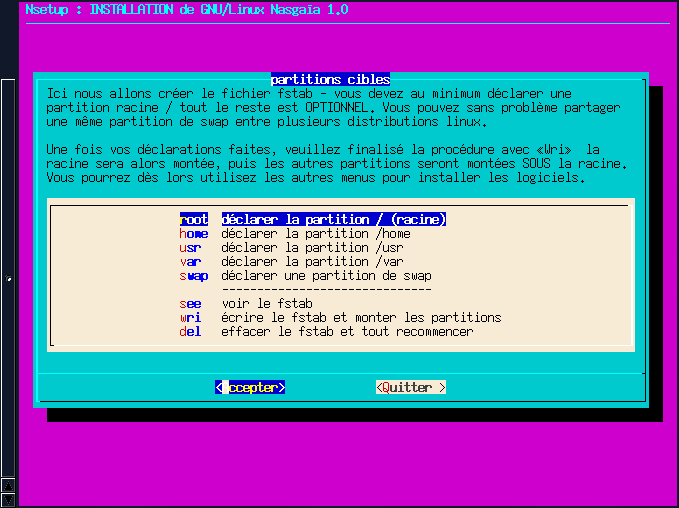
Fig. 10 |
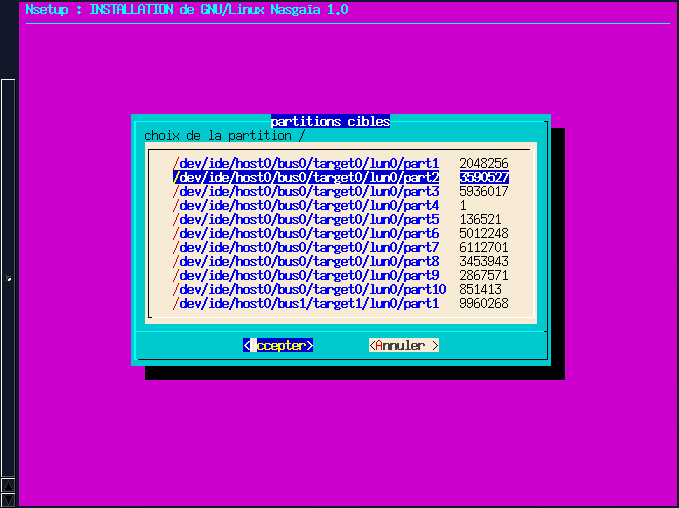
Fig. 11 |
You can now declare your partitions (Fig10). The simplest choice, notably if you're not used to this topic is to declare a single partition, the root one (ex: Fig11).
Declaring a dedicated swap partition is recommended, but there's no need to create a 2GB one - it won't be faster! On modern systems, a size between 100 and 500MB is often a good pick.
Once done with the declarations, don't forget to use the write the fstab and mount partitions entry - this is required to go on properly.
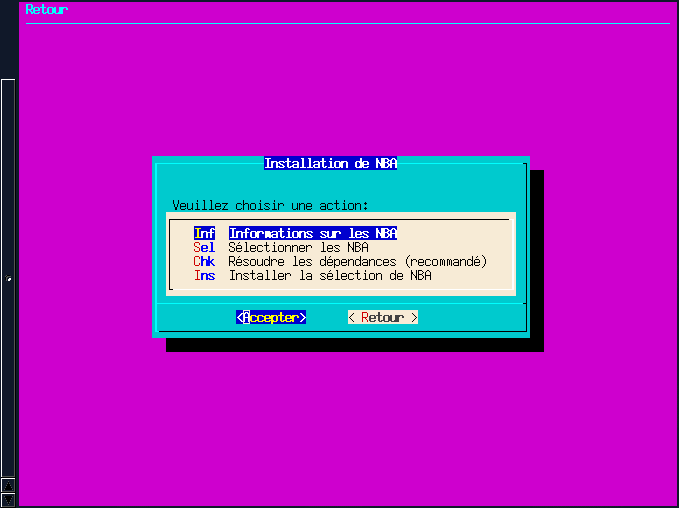
Fig. 12 |
You'll now be able to proceed with softwares installation (Fig12). The first entry takes you to a software list and their descriptions, content list etc.
The second entry takes you to a list of nba available for installation. The default selection, displayed first time you get there corresponds with the base system: unless you have very good reason, at least keep those ones selected - they are selected for good reasons!
I you're discovering Linux, or have limited understanding of many packages' role, it's advised to first use the All option, then deselect only those packages you're sure not to need (you can install them later with no problems). The huge majority of proposed softwares are very widespread ones, you have maximum probabilities to need them very soon.
To guaranty the system's sanity, and avoid most commons omissions, you should use the Auto solve dependencies option, that will simply add what might be missing. This is optional, but highly recommended because if you're missing something, you will necessarily get into troubles (from annoying to fatal ones).
Once you're selection validated, simple use Install the nba selection, this will take some times (depending on your computer speed). One the softwares are installed, you'll be asked for the super user's (root) password, then a few post installation scripts will be ran.
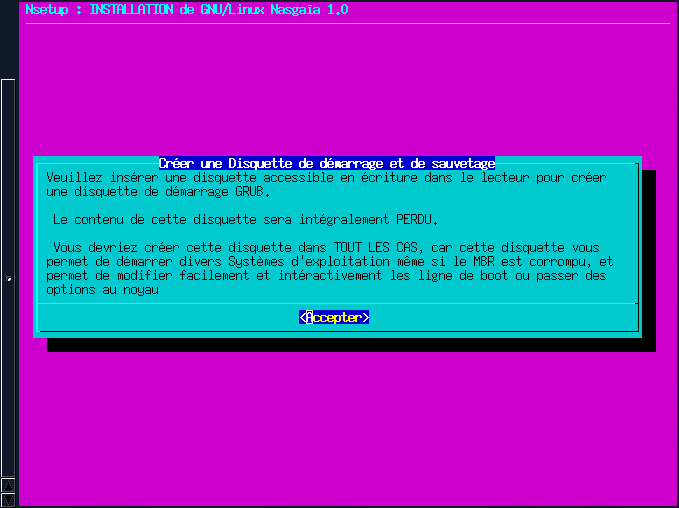
Fig. 13 |
You can now create a boot floppy disk that will by default boot onto Nasgaïa, but will also have menu entries for any flavor of Microsoft(Tm) O.S on hda1 (first HD's first partition). Thus, it's really recommended that you create that floppy, this is always useful one day or another! All you need is a writable floppy.
This menu lets you install the GRUB boot loader either on the HD's MBR, or on the root partition start sector (in this case, the partition must be a primary one).
Just like the floppy, the default menu will include an entry for any flavor of Microsoft(Tm) O.S on hda1. You also have the opportunity to manually edit the menu to add entries for other installed distros or O.S.
You can also modify this later, as much as you want, with no danger by editing /boot/grub/menu.lst to adapt it to your needs.
Once done with all of that, simply go on Leave Nsetup and reboot.
When you first boot Nasgaïa, you'll be presented the "little brother" of Nsetup, very similar - that will let you add regular users, set-up network devices, a sound card, a RTC modem, services, and of course XFree86.
You can recall that program at nay time by simply running
/usr/sbin/Nsetup as root user.
Here you are! You now can discover Nasgaïa GNU/Linux - this manual is intended to help you - and you can start tweaking it to make it being just what YOU want, have a nice discover !